Converting Minecraft maps to Half-Life 1
Pretty sure that's not what they meant when they said "Worldcraft"posted 2024-02-04
Warning
This post was made a long time ago. The information inside of it may be outdated, and the writing may not accurately reflect my current self.
Over the past week, I’ve been working on porting a Minecraft map to Half-Life 1 for my girlfriend’s birthday. I accomplished this with a mix of writing code (Rust, Python, C#), manual work in J.A.C.K., and manual asset editing in paint.net. The code powering this map is open source on GitHub here. I’ll update this post with a link to download the map when it’s ready for the public.
Exporting the world
The original map is a large castle called Ketamine Keep that I built back in 2020 with my girlfriend and some friends. I don’t want to port the entire world, but rather the build itself, so I used a schematic. A schematic is a Minecraft modding term for a file that contains information about a structure. More specifically, I’ll be using the Litematica mod.
I have a world download saved on my file server, so I opened it up and started carving around it. It’s important to remove the extra ground below it, because it increases the amount of blocks inside of the build for no benefit.
The Barrier block (an invisible block that blocks passage) can be used to represent clip brushes in the schematic, and then another one can be used for the skybox (I chose Tinted Glass):
I also removed the lights outside of the skybox (to prevent entity leak errors at build time) and killed the bats flying around beneath the ground. After setting up the build, I exported it to a .litematic file. This file format is gzip compressed NBT data. I attempted to parse it in Rust originally (using rustmatica), but it was reporting incorrect block positions. I also tried parsing the NBT data by hand (using simdnbt), but I didn’t understand it. To solve this, I just used the litemapy Python library to export it as a massive JSON file. Wasteful, but it works.
After reading how to set up J.A.C.K., I used the lovely WadMaker command line tool to pack some Minecraft textures for the map. The textures are .jpgs located in the Minecraft .jar file, so I found it on disk in my Prism Launcher libraries folder and opened it in 7-Zip.

Pro tip: disabling texture filtering in the game settings helps the textures look not garbage. I did not learn that this existed until a bit later, so you’ll have to deal with muddy screenshots for now.
Now comes porting the actual map!
Generating the map
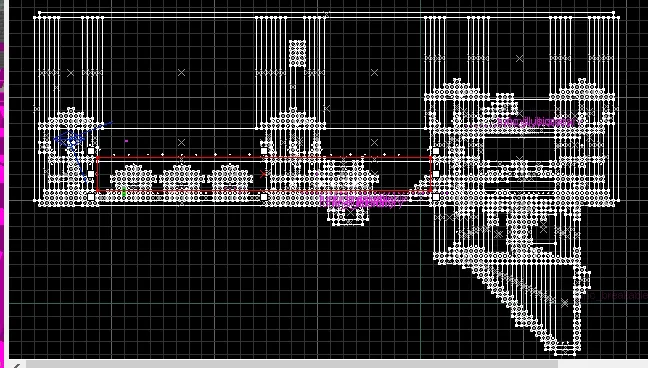
I’ll be outputting a .vmf from the script, which is a text-based format that represents the map. I chose to do this in Rust because it’s :rocket: blazingly fast :rocket: and good enough for the job.
I made a blank .vmf in J.A.C.K. and opened it in a text editor, using it as a base. A basic .vmf contains some entities and a world object, which looks something like this:
world
{
  "id" "0"
  "mapversion" "1"
  "classname" "worldspawn"

  solid
  {
    "id" "1"
    side
    {
      "id" "2"
      (etc..)
    }
  }
}

entity
{
  "id" "8"
  "classname" "info_player_start"
  "origin" "0 0 0"
  "angles" "0 0 0"
}
The world object contains all solid brushes, which each have multiple sides. Entities are not included in the world object. This seems remarkably similar to the VDF file format, from my experience. It’s JSON-like with loose children, so I guess it’s more like XML?
I approached this by building a virtual voxel world in the program out of the schematic, which I’ll just represent as a HashMap<Vector3, Voxel> - where a Voxel contains the block ID and its block state (which is basically a key value dictionary).
It’ll need to convert the coordinate space from Minecraft to GoldSrc, though. Googling, it seems that 1 Minecraft unit (1 meter) = roughly 40 GoldSrc units. Minecraft models operate in units of 16 per block, so I’ll go with 48 units to make it easily scalable by 3. GoldSrc is also Z up, so it needs to swap Y and Z.
For now, let’s only worry about solid blocks and skip the rest. That means I can represent each block as a brush with six faces, and then output a .vmf with a light entity and an info_player_start. Filtering to only the stone bricks:
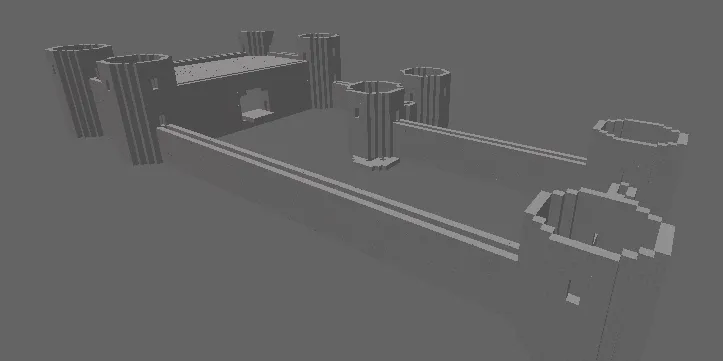
Seems to work, but this is very unoptimized, as each block on the wall is a single brush instead of one large brush. How can this be improved?
Writing the world’s worst greedy meshing algorithm
I implemented a system known as “greedy meshing” for merging blocks together. The algorithm can be built in a very simple way: grow in one direction as much as possible, then the next, then the next. Repeat for every block in the mesh. You stop in one of these cases:
- You hit a block with a different ID or properties
- You hit the edge of the schematic
- You hit another existing box
I implement some weird version of flood fill on each block to group the same blocks into “clumps”, and then I run the greedy meshing algorithm on each clump. I also try all permutation of direction orders (X->Y->Z, Z->X->Y, Y->X->Z, etc.) and pick the one with the least brushes. This process only takes about two seconds to run on my computer in release thanks to rayon, which does it all in parallel for me.
This is certainly not the best way to do this, and I probably got some terminology wrong, and it’s not really meshing since I just treat it as a giant box with two coordinates, but it works!
I special cased the Barrier and Tinted Glass blocks to use the clip/sky textures as discussed earlier, and then opened it for the first compile.
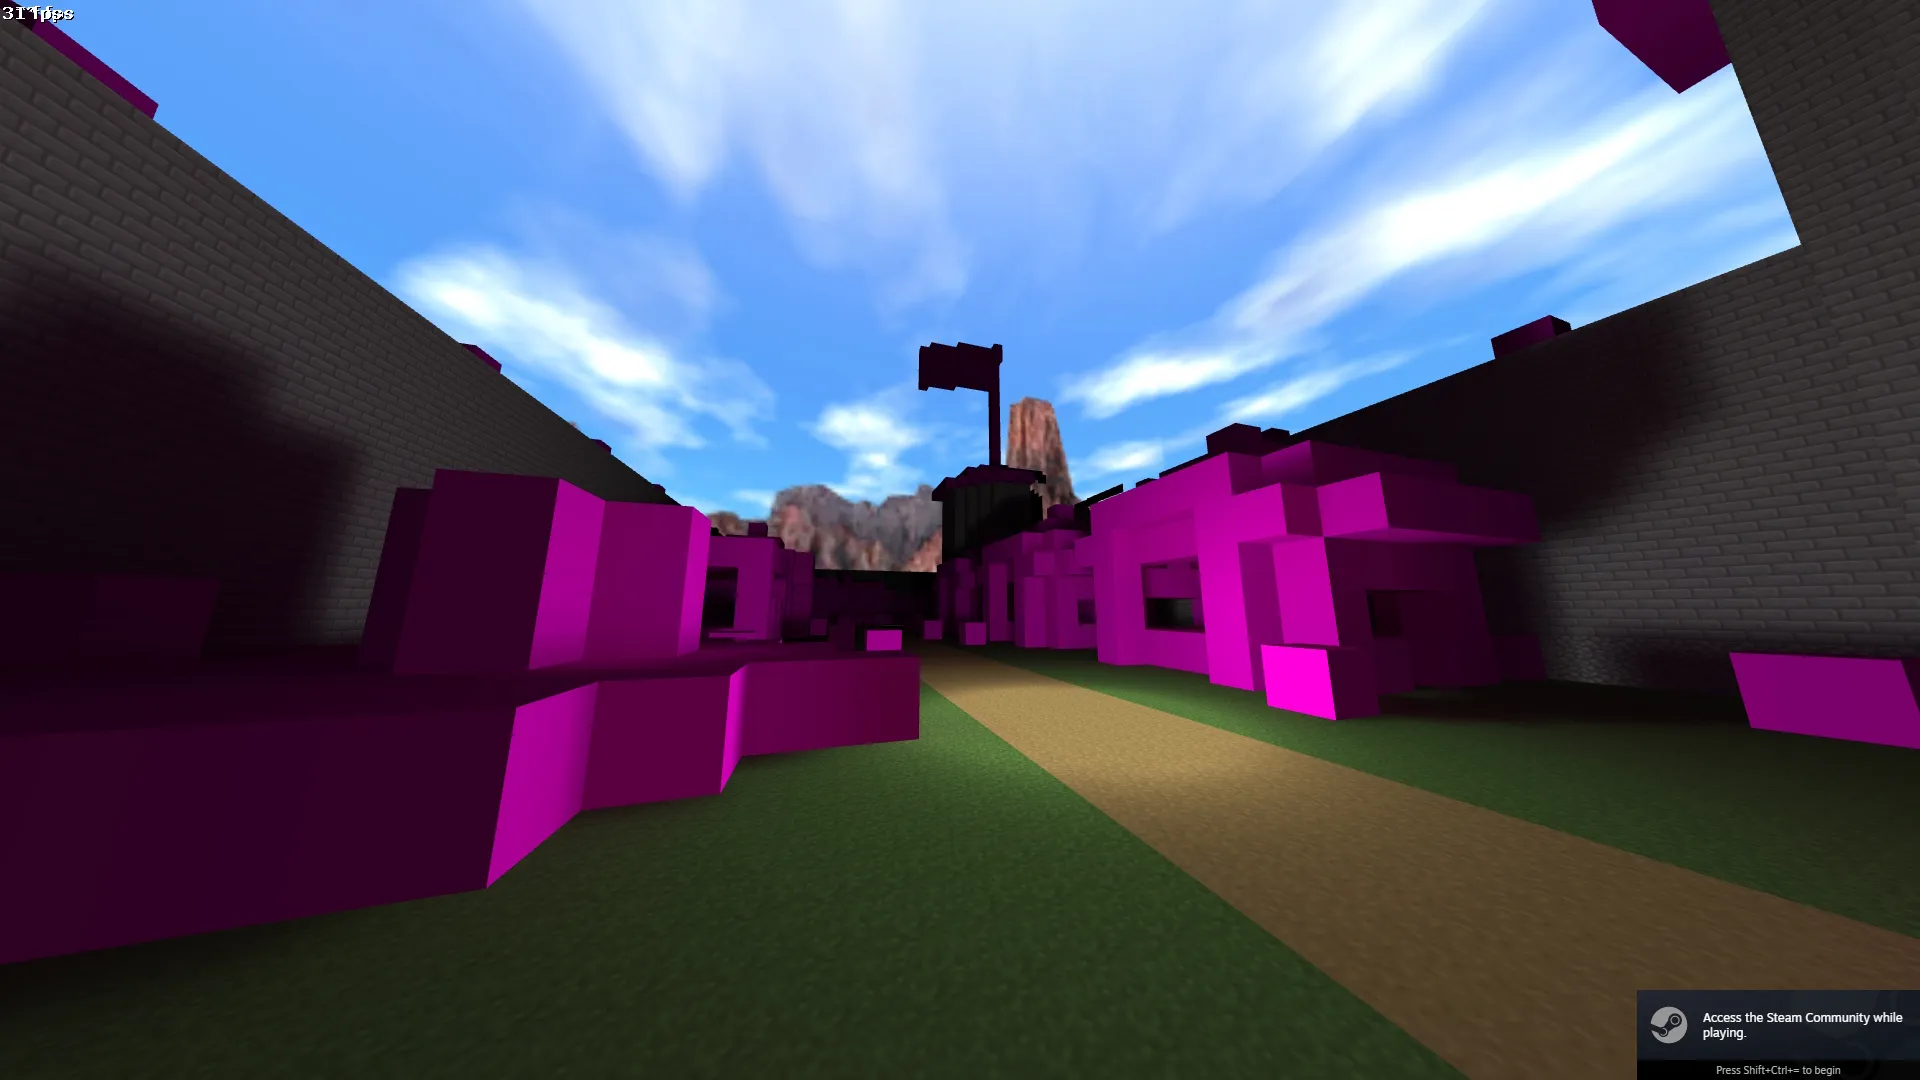
As expected, the lighting is bad and the textures look extremely bad. Blocks that don’t have their textures in the .wad are replaced with a light pink for now. I chose to focus on the textures and lighting.
Making it look a bit better
Solving the lighting is simple: just use the lighting from the game itself! We placed down torches in the castle when originally building it, so I’ll just spawn a light entity where each torch is. I also used the lights.rad file to make the glowstone emit some light, and set up a light_environment, so everything should look a lot nicer after it.
The textures look like they’re packed multiple times more into the block than they should be. From my understanding, this is because they’re 16x16, but the blocks are 48x48. Setting the UV scale to 3 (and aligning the V by 16 / 3 = ~5.33) seems to make the textures fit perfectly onto the brushes.
I planned to do most of the non-full-block geometry by hand, but one small thing that’s easy to do is lower the path blocks slightly for immediately looking a bit better:
if r#box.id == "dirt_path" {
    max.2 -= MC_TO_HAMMER / 16.;
}
I found on the Minecraft wiki that the sizing was 15/16 units of a block, which can be double checked by opening the block .json:
{
  "from": [0, 0, 0],
  "to": [16, 15, 16]
}
Adding leaves and glass
To do glass, just tie each glass brush to a func_breakable entity. It would be smarter to include all clumps in a single entity, but that required a bit of reworking in my code, so I ended up just fixing those cases by hand (given how little glass there is in the map). Leaves are a similar deal, but with func_illusionary.
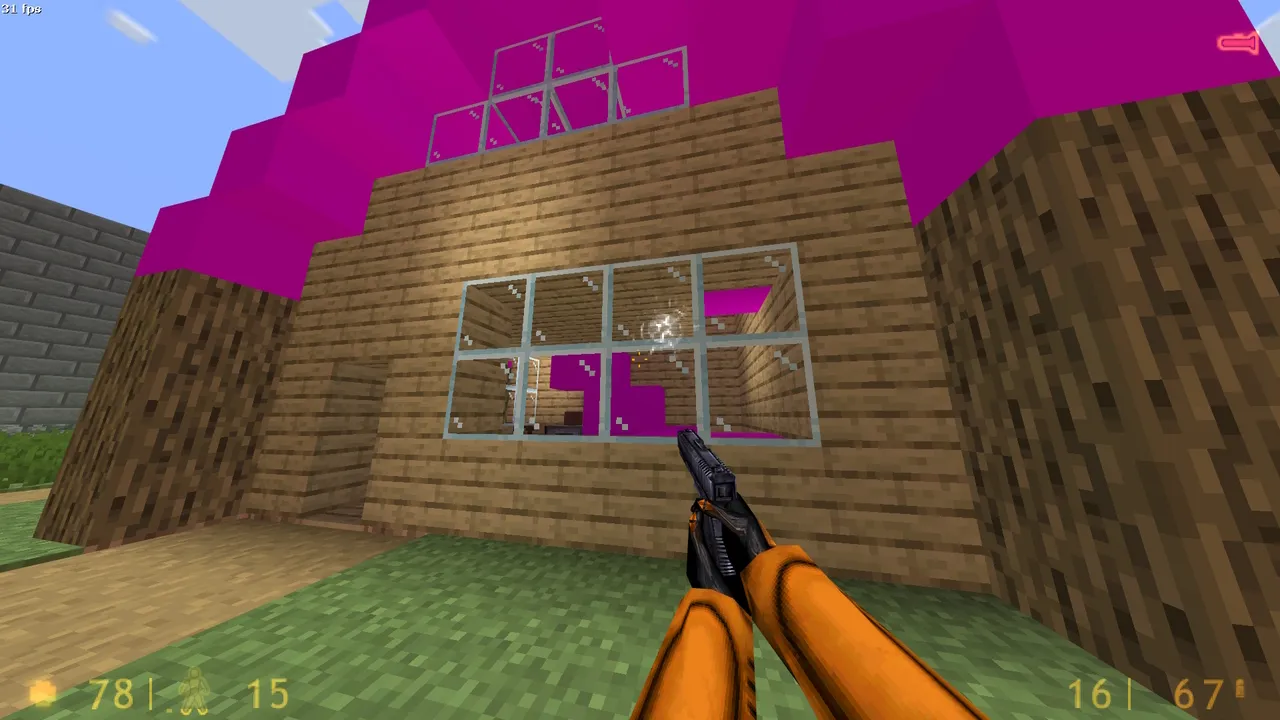
For the transparency, WadMaker automatically handles it for us, as long as the texture filename starts with {. What a perfectly sane and normal thing to do.
Handling block faces
The block state of a block looks something like this:
minecraft:furnace[facing=north,lit=false]
After stripping the block identifier and the brackets to just get facing=north,lit=false, it can be split once more by commas and equal signs to form a dictionary. From this, I can just pick what texture I want for each face with a match statement:
let props = util::parse_properties(&r#box.properties);
let face = props.get("facing").map(|s| s.as_str()).unwrap_or("north");
let face = match face {
    "north" => Face::North,
    "east" => Face::East,
    "south" => Face::South,
    "west" => Face::West,
    "up" => Face::Top,
    "down" => Face::Bottom,
    _ => unreachable!(),
};

for side_id in 0..6 {
    let texture = match r#box.id.as_str() {
        "furnace" => {
            if side_id == Face::Top as usize {
                "furnace_top".to_string()
            } else if side_id == face as usize {
                "furnace_front".to_string()
            } else {
                "furnace_side".to_string()
            }
        }

        // more code here for other textures
    };

    // more code here for assembling the side
}
Handling models
The last thing I did before starting work on it manually was creating models automatically. To do this, I used Blockbench to convert the models to .objs manually, and then used tobj to load it. I then converted the coordinates in the .obj into a .smd file and shelled out to StudioMDL to compile it.
StudioMDL expects the textures to be 8 bit BMP files, and most libraries and tools I tried failed to convert it. It also requires that if transparency is used, it’s the last color of the BMP palette. I ended up writing a small C# script to convert them using System.Drawing, and manually cropped the textures with animations (like fire) to a single frame. Most textures were 16x16 and reused colors, so I never hit the color limit (and theoretically if I did I would’ve only needed to approximate one color).
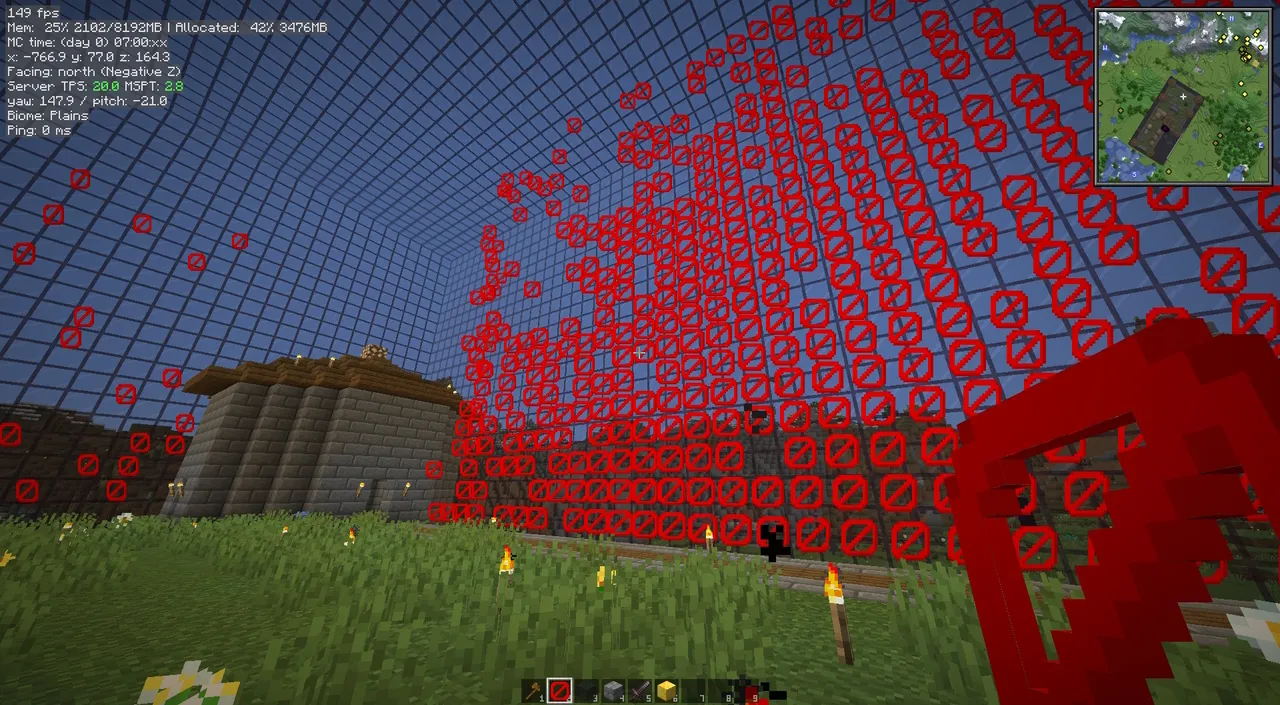
I forgot to translate Y up into Z up for the models, so I ended up rotating them in the entities in the map. Unfortunately, GoldSrc really did not like 1000 grass entities existing, and I started hitting weird render limits and entities phasing out of existence on recompiles/only being visible from certain blocks in the map. While I ended up not using this code as much as I wanted to, and it required a lot of manual effort, I still think it’s cool!
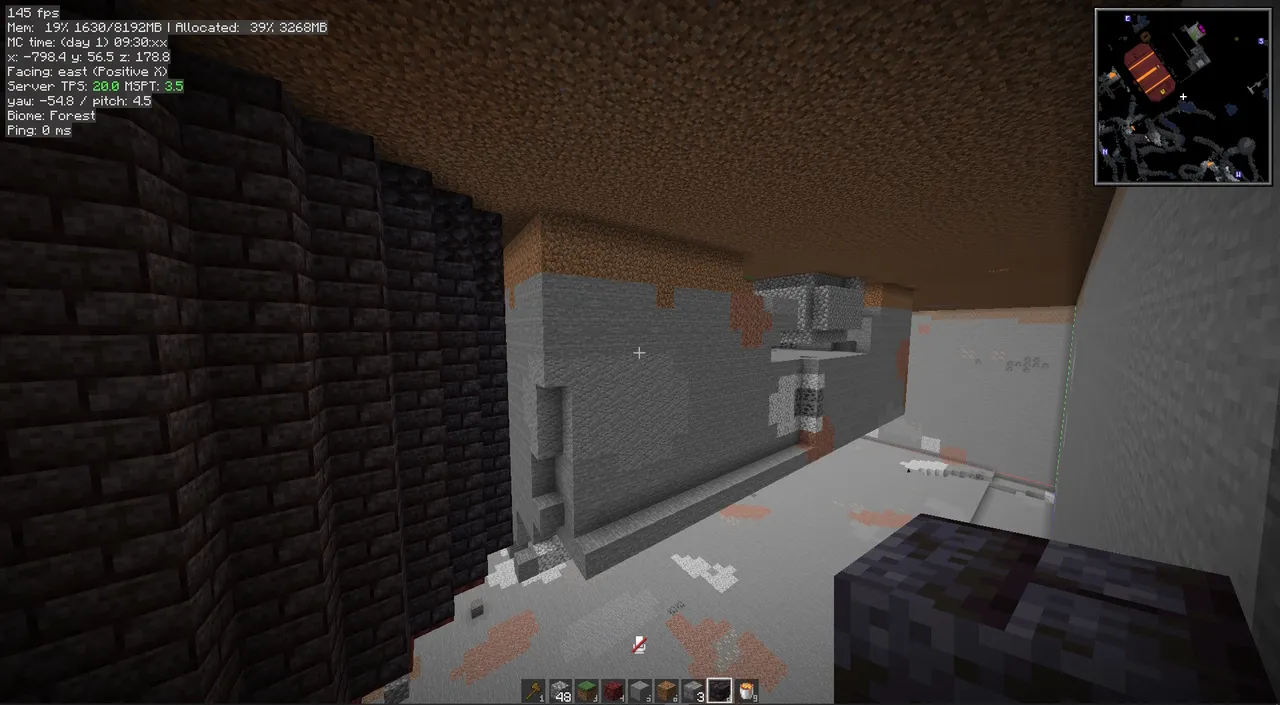
What was done by hand
A lot more was done by hand:
- proper nodraw on faces that were touching other blocks
- fixing brush entities and clumps
- foliage, because models were unreliable
- fluids
- blocks with weird collisions (stairs, slabs, fences, ladders)
- block entities (chests)
- other spawns and items that made it a deathmatch map
I also made a skybox, which I just used a random panorama screenshot mod off of Modrinth (because my own broke, lol). I took it in an empty world at noon, so it’s just the sky, some clouds, and the sun. Minecraft’s internal panorama code generates 6 square screenshots, so it was very easy to port (just getting the orientation right, resizing them, and making .bmp/.tga files).
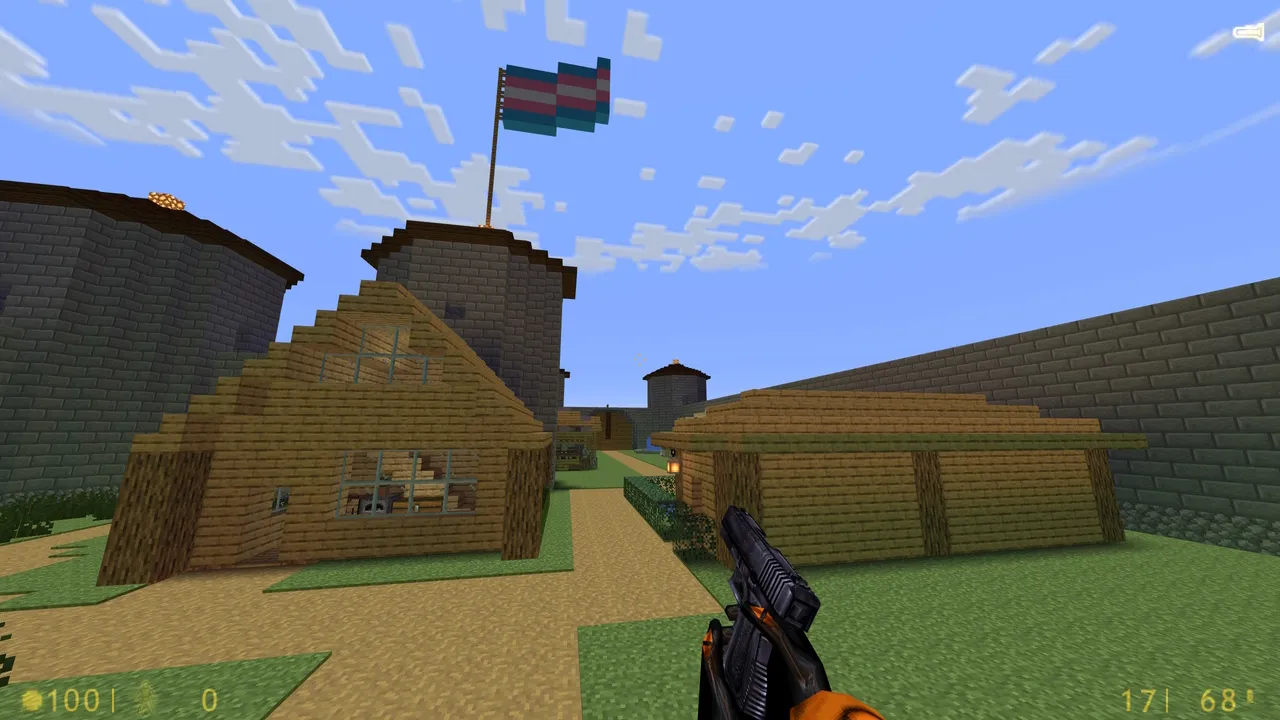
The final result
We’re going to eventually play this map on my girlfriend’s birthday as a large chaotic party. While the code is in no way ready for other people to use it, I still published it on GitHub, in the hopes it’ll benefit someone as insane as me.